How to Clean a Bolt-Action Rifle: A Step-by-Step Guide
How to Clean a Bolt-Action Rifle: A Step-by-Step Guide
September 11, 2023
By Nikki Boxler, Brand Ambassador Otis Technology
Regular firearm maintenance is an important part of responsible gun ownership. Cleaning your rifle helps protect it from rust and corrosion so it can last a lifetime. It also helps keep fouling and debris from building up where you don't want it.
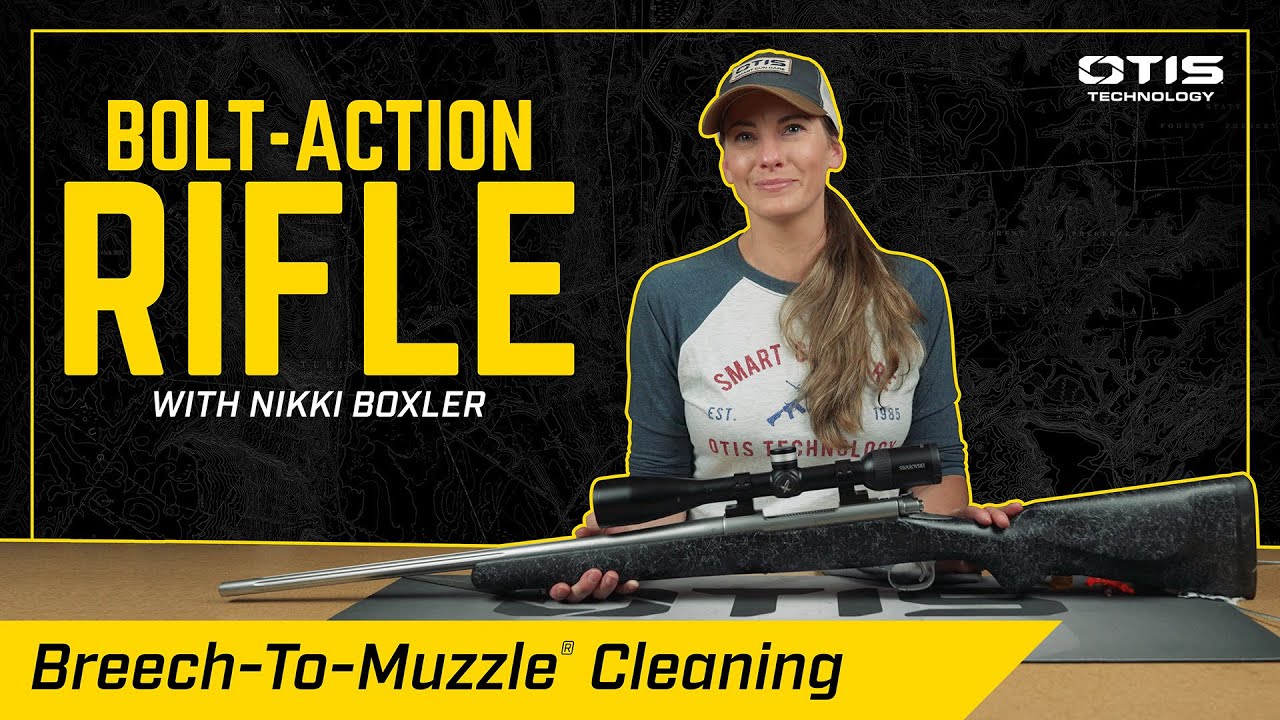
In this article, I'll walk through the process of cleaning a bolt-action rifle on my Winchester Model 70 chambered in .270 caliber.
Watch How to Clean a Bolt Action Rifle
Why Clean Your Rifle?
One of the primary reasons to clean your firearm is to protect it from rust and corrosion. Proper cleaning and maintenance help preserve your rifle so it can continue to perform for years to come.
Cleaning also removes carbon, fouling and debris from the barrel and action. Keeping these areas clean is an important part of maintaining your firearm.
For this cleaning process, I'm using the Otis Professional Rifle Cleaning Kit and the Otis Technology's 3-step cleaning process.
Why Clean From Breech to Muzzle?
Otis Technology's Breech-to-Muzzle® cleaning method follows the same direction the bullet travels through the barrel: from the breech toward the muzzle.
The reason is simple. Cleaning in this direction helps prevent fouling and debris from being pushed back into the action. Instead, debris is pulled away from the action and toward the muzzle, helping keep the action clean.
Otis offers 3 methods for Breech-to-Muzzle® cleaning:
- Ripcord®: A quick cleaning option that can be used at the range, including while the barrel is still hot. For a quick range cleaning, the Otis Ripcord® is caliber specific, and fits easily into a range bag or pocket.
- Solid rods: A more traditional cleaning method typically used at home on a bench.
- Memory-Flex® cable system: This compact cable cleaning system can be used at home, on the range or in the field.
Before You Begin: Make Sure the Rifle Is Clear
Before beginning any cleaning procedure, make sure there is no ammunition in the area and that the firearm is clear.
Visually and manually inspect the chamber and magazine to make sure the rifle is unloaded.
Once the rifle is confirmed clear, remove the bolt so you can begin cleaning. Bolt removal procedures can vary between rifles, so follow your firearm manufacturer's owner's manual for the proper procedure.
The Otis 3-Step Cleaning Process
The Otis cleaning process can be summarized in three steps:
1. Wet Patch
2. Bronze Brush
3. Dry Patch
Repeat the three steps until the patch comes out clean.
Step 1: Run a Wet Patch Through the Bore
Start by selecting the correct-size slotted tip and the appropriate cleaning patch.
The correct patch size and pinch position should be determined using the instructions supplied with your Otis cleaning kit.
The Otis 3" All Caliber Gun Cleaning Patches are made from 100% cotton and are designed to provide 360-degree coverage when properly attached to the slotted tip.
Apply the solvent or CLP of your choice to the base of the patch.
Attach the patch to the slotted tip and pull it through the bore from breech to muzzle.
The solvent or CLP helps break down carbon and fouling inside the barrel.
Step 2: Run the Bronze Bore Brush
After pulling the wet patch through the barrel, select the appropriate-size bronze bore brush.
Attach the brush to the Memory-Flex® cable and pull it through the bore from breech to muzzle.
The bronze brush further loosens debris, carbon and fouling inside the barrel.
Step 3: Run a Dry Patch
For the final step, reattach the slotted tip and use a clean, dry patch.
Pull the dry patch through the barrel from breech to muzzle.
Inspect the patch. If debris is still present, repeat the three-step process:
Wet Patch → Bronze Brush → Dry Patch
Continue repeating the process until the patch comes out clean.
Once the bore is clean, finish by running CLP or lubricant through the bore again to help protect it from rust and corrosion and remove any remaining residue.
Clean the Action and Exterior
With the bore clean, it's time to move on to the action and exterior of the rifle.
Use an Otis AP Brush with a little CLP to loosen and remove debris from the action.
The AP Brush has a larger side for larger surfaces and a smaller side for getting into tighter, detailed areas.
Use the brush to clean the crevices around the receiver, chamber area, magazine well and other areas where debris may accumulate.
Clean the Bolt
Next, apply a couple of drops of CLP to the bolt.
Use the AP Brush to clean the bolt's moving parts and crevices, as well as the bolt face and extractor.
Once the bolt is clean, wipe it down with an Otis O85® CLP Firearms Wipe. The wipes are designed to clean, lubricate and protect firearm surfaces.
Reinstall the bolt according to the rifle manufacturer's instructions.
Wipe Down the Rifle
The final step is to wipe down the exterior of the rifle.
Using a clean microfiber cloth, wipe away fingerprints and any excess oil or CLP from the exterior surfaces.
Apply CLP to the microfiber cloth and uses it to wipe down the barrel and exterior metal components of the rifle to prevent rust and corrosion.
Once you've completed these steps, the rifle is ready for safe storage until the next time you use it.
A Simple Routine to Remember
The Otis approach to cleaning a bolt-action rifle is easy to remember:
Clear the Rifle → Remove the Bolt → Wet Patch → Bronze Brush → Dry Patch → Clean the Action → Clean the Bolt → Wipe Down the Exterior
And throughout the bore-cleaning process, remember the fundamental Otis principle: Breech to Muzzle.
Pulling fouling and debris in the same direction the bullet travels helps keep contaminants from being pushed back into the action.
Whether you're cleaning at home, at the range or preparing your rifle for storage, following a consistent cleaning routine can help protect your firearm from rust and corrosion and keep it ready for its next use.
Products Mentioned in This Guide
- Otis Professional Rifle Cleaning Kit
- Otis 3" All Caliber Gun Cleaning Patches
- Otis .270/6.8mm/7mm Rifle Ripcord®
- Otis O85® CLP Firearms Wipes
- Otis AP Brush
- Otis Microfiber Cloth
- Otis Brass Gun Cleaning Rod
- Otis Sectional Rod Rifle Cleaning Kit .270/7mm
otistec.com